


 4.4 out of 5 with 50,000+ reviews
  Free delivery on orders over £75*
  Next working day delivery available*
 How to Use Your Grass Strimmer: The Ultimate How-To Guide
Also known as grass trimmers, weed-whackers, line trimmers and string trimmers, these versatile tools are perfect for creating beautifully uniformed boarder edges, trimming around difficult terrain such as trees and garden ornaments, as well as clearing larger patches of unruly rough vegetation. For tasks like working up to a garden wall and tackling sloping areas of grass, where a lawn mower is completely unsuited, a grass strimmer proves it’s self as a must have tool.
This guide will take you through the basics of how to use a strimmer to its full potential for a variety of tasks, as well as introduce some basic strimming and trimming health and safety essentials.
Click a link to jump to a section:
- Types of Strimmer
- Common Features and Where to Find Them
- Staying Safe When Using Your Strimmer
- Preparing to Use Your Strimmer
Have You Got the Right Strimmer for the Job?
The biggest difference between all the available strimmers on the market is how the motor is powered. The three most common ways of powering a grass strimmer are 2-stroke petrol engines, battery powered motors, and mains powered electric strimmers. The first thing you should do before you get to work in your garden is make sure you know what your strimmer is suitable for and capable of.
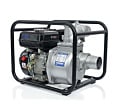
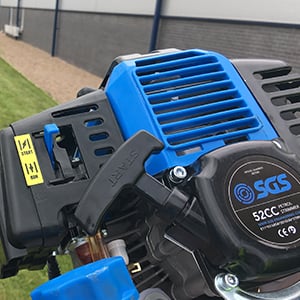
Petrol Powered Strimmers & Trimmers

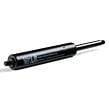
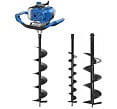
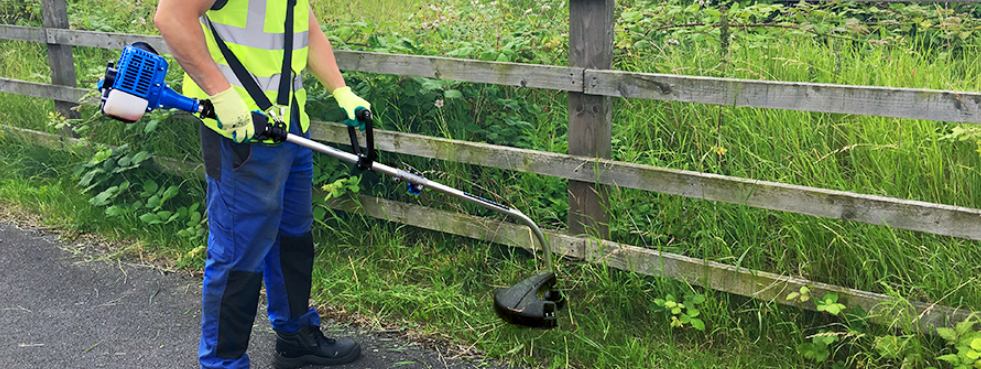
Powered by two-stroke engines of varying power, these strimmers are suited to those who need to tackle even the toughest strimming tasks or have a larger area of garden to take care of. Being completely free of wires and cabling, they’re highly mobile garden tools. 2-stroke engines are described in terms of engine displacement or “cc”, just like a motor vehicle.
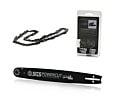
Many petrol strimmers are powerful enough to have separate cutting attachments like the SGS 52cc Combination Strimmer and Brush cutter (perfect for tough bracken and shrubbery) which combines a strimmer and brush cutter with hedge trimming and chainsaw attachments. These types of tool are incredibly useful to have around and allow for completion of a variety of garden tasks.
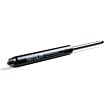
Battery Powered Strimmers & Trimmers

Ideal for lighter work and smaller gardens, lithium-ion powered strimmers are relatively new additions to the market. Battery powered garden tools are lightweight and ultra mobile, however require recharging every 20 minutes or so depending on the capacity of your cell. This is less of a problem if you have a small area to work in or numerous interchangeable batteries. We stock a range of Hyundai strimmers and grass trimmers, meaning that the batteries are interchangeable between over 50 home and garden tools, making them ideal for someone who already owns one.
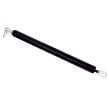
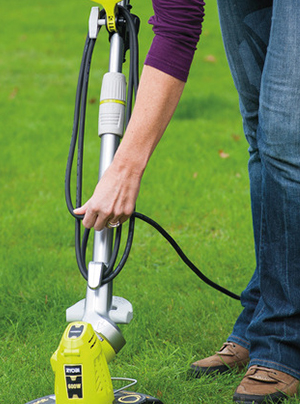
Electric Strimmers & Trimmers

These tools tend to be the cheapest type of strimmer you can buy, mainly because of the limitations of being stuck to an electrical socket. You won’t be able to venture into more difficult terrain or tackle the far end of your garden with ease, but on the flip side, you won’t be dependent on a battery capacity. A good compromise between corded and battery strimming is the Ryobi ONE+ Hybrid Power Grass Trimmer. This clever tool gives you the flexibility of a battery tool, plus the option to use a mains power cord if you run out of juice half way through your gardening.
If you need more help making sure you have the right grass strimmer, take a look at our comprehensive buyers guide here.
Get to Know Your Strimmer: Common Features and Where to Find Them
It’s worth spending a little time looking over your strimmer and checking where all the features are. We’ve labelled up a SGS 26cc Petrol Strimmer with many of the common feature of a strimmer. Your strimmer might have less or different features to the one pictured, but the diagram shows most of the typical elements that make up a strimmer.

7 Golden Rules for Safe Garden Strimming: Staying Safe When Using Your Strimmer
A strimmer is effectively a rapidly revolving cutting head, with hard trimming line trailing from the end. If you’ve ever seen someone using their strimmer on some overgrown weeds, you’ll know the cutting potential of even a small strimmer. When used properly by an operator aware of the inherent risks involved, garden strimming couldn’t be safer. We’ve put together a list of 7 Golden Rules for Safe Garden Strimming, so you can trim to your heart’s content without the fear of losing a toe.
1. Wear the Right Protective Gear

With a trimming line that revolves at up to 3,000 revolutions per minute, it’s worth taking your personal protective equipment seriously. Eye and face protection is a must. A pair of tough gloves and sturdy shoes is highly recommended. Strimmers can be very noisy, so get some ear defender or plugs. Regardless of the weather, wear full length trousers and avoid loose fitting clothes.
2. Expect Flying Debris

Even the best kept gardens can have nasty surprises lurking just beneath the surface. Pieces of debris, such as a stone, could easily be flung towards a window or unsuspecting person’s eyes.Check the garden for surprises before you turn on the strimmer. 5 minutes of checking for obstructions could save you from a broken window or worse.
3. Look out for Trip Hazards and Cabling
If you’re using a mains powered electric strimmer, the biggest hazard is likely to the long trailing cable. You’re just as likely to trip over the cable as you move around the garden, as you are to accidentally trim the wire to bits. Don’t use an extension cable that’s too long and keep it well away from the strimming head.Regardless of what strimmer you’re using, stay vigilant while you move through your garden and keep a strong stance as you work. Never work in the rain or when the ground is slippery or sodden.
4. Keep Away From the Business End

It really can’t be said enough, accidentally coming into contact with the trimming line will cause some serious damage. If you’re using a harness and wearing the right clothes, you’ll minimise the risks, but just be aware that while the strimmers turned on, you should be nowhere near the spool. If you do have to perform any maintenance on the line end, make sure the tool has been switched off and has cooled down before you attempt the work.
5. Be Aware of Your Surroundings

Your strimmer will cut through your prized flowerbed just as quickly as it’ll tackle weeds. Whatever you point the tool at is likely to be cut to shreds or at least severely damaged. Be careful around fences, plant pots, garden walls and sculptures - hitting hard things will mean you’ll go through trimmer line really quickly as well as potentially take a chunk out of whatever you hit. Clear you garden of furniture, ornaments etc before you start your work.
6. Be Cautious of Liquid Fuels & Fumes

This rule is for petrol strimmers only; wherever there’s a liquid fuel, there’s going to be exhaust emissions. Carbon-monoxide is very poisonous and invisible, so never use your strimmer in an enclosed space where gases can collect. If your strimmer is making excessive fumes, you might need to do some maintenance and adjust the carburettor’s air intake. Store your petrol or fuel mix somewhere out of the house and away from anything that might cause a spark. Allow an engine to completely cool down before you try and refuel a petrol powered tool.
7. Take Regular Breaks

Power tools cause vibrations and noise, both of which will take their toll on an operator over a long period of time. Wearing the right protective equipment, keeping a good stance and wearing a harness will all help elevate strain and keep you strimming comfortably. Listen to what your body is telling you; if fatigue creeps up on you or your muscles start to ache, it’s time to give it a rest for the day. Stay hydrated and never operate a power tool if you’re feeling unwell.
Preparing to Use Your Strimmer
So before you start up your strimmer, there’s a couple of things you should tick off your checklist first.
Read your instructions carefully
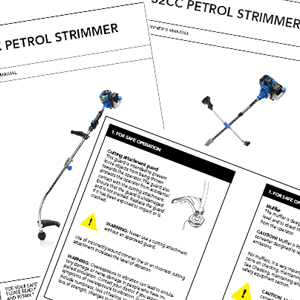
Every strimmer is a little different, so it’s worth taking a look through your instruction manual before you begin. All SGS strimmers and garden power tools come with comprehensive instruction manuals that are available to download from individual product pages if you’ve lost the one that came in the box!
Make sure your garden is prepared

Now’s the time to check the garden over for any potential hazards such as stones and other hidden nasties in the grass. Move all your garden furniture and ornaments out of the way of where you’ll be strimming. Put the kids and pets in the house out of the way from where you’ll be working.
Wear your safety equipment
We’ve already been through what protective equipment is advised, but it’s worth reiterating that you need something like safety glasses or a visor to protect your face, sturdy shoes and long trousers before you start strimming. Gloves, ear defenders and steel toe cap boots are also recommended.
Start the strimmer

You’re just about ready to get under way with your strimming. Electric strimmers will be as simple as a switch and possibly a dead mans switch. Petrol power strimmer will have a starting procedure that’s explained in the manual. You can see a step-by-step picture guide for starting an SGS strimmer here.
How to Use a Strimmer like a Pro
So now you’re sure you have the right strimmer, you know where all the features of your strimmer are, you’re up to date on all the health and safety stuff, and the ground is clear and ready for action - let’s do some strimming.
Know the Cutting Direction of Your Strimmer
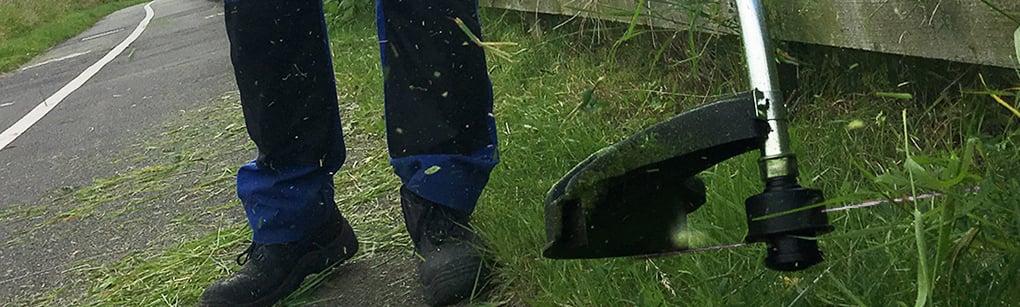
In the same way a circular saw ejects sawdust away from, your trimmer needs to displace the grass away from the trimmer line and spool. The way the grass will fly out will depend on the direction your spool spins. SGS strimmers rotate clockwise, so the grass is ejected to the right side of the tool, meaning the left of your tool is best cutting edge. If you’re cutting along an edge the debris needs to be ejected away from where you’re cutting.
So, if you’re using a SGS strimmer, you’ll want to move from right to left, as this will give you the clearest possible view of what you’re cutting. If you don’t work into the cut line, you’ll start ejecting material into your cutting path, piling up clippings, bogging down your strimmer and potentially scalping the grass.
Remember Where the Cutting Power Is

Without getting embroiled in the physics, a strimmer utilises high speed centrifugal force to do all the cutting - essentially the faster it spins, the stiffer the line, the greater the cutting potential. You might think simply hovering your strimmer over a section of grass is the best way to do all the cutting - however this is incorrect; the very ends of the trimming line are where all the cutting power is being focused. Like any other cutting tool, you need to know where the “sharp bit” is to use it properly - for your strimmer, it’s the very tip of the line.
Strimmer Cutting Techniques
A strimmer is an incredibly versatile tool when in the right hands. There’s four basic cutting techniques you need to master for the perfect garden; edging, tapering, scything and screeding. They each have their own uses, and unique aesthetics depending on what you want to achieve. We’ll go through them all in turn.
Edging a Border

Where two surfaces are basically flush, you’ll find that edging gives you that sharp, clean cut finish. You might want to use this technique between your lawn and drive or around flower bed borders. To achieve this finish, keep your strimmer spool flat and parallel to the ground. Find your cut height, get into a comfortable working position and then simply walk into the cut path. Keep a firm grip at a uniformed height for the best results. Expect dirt, stones and debris to be thrown around when you attempt this cutting technique.
If you’ve not edged a border before, don’t expect the perfect edge on your first attempt. It’s a lot easier to cut a bit more of your lawn every week, gently creeping up on that perfect crisp edge. Once you’ve got it once, it’s easy to maintain it.
Tapering Up to Walls, Fences or Around Trees

Tapering gives a gradual, fading grass effect that looks particularly attractive around obstacles, giving a more natural feel than the strong parallel cut you get from edging. Instead of angling the trimmer line flat (like you do when edging) hold your strimmer at a slight angle. Pitch the tip of the cutting line towards the object you’re trimming around - you’ll cut less grass as you move around the obstacle, but a tapered edge means you won’t end up with an unattractive channel of grass between where you’ve mowed and your obstruction. Blend the edge with the height of your mowed grass for a clean but natural looking finish.
Scything Longer Grass & Weeds

Some obstacles can’t be easily walked around, particularly when working in longer grass. You shouldn’t attempt scything unless you have a powerful strimmer - preferably a petrol strimmer. To trim longer grass and weeds, or to cut around a more difficultly placed obstacle, take a strong stance and bring the tool in and out of the cutting area in a shallow “U” shape. You can overlap your scythes for a more even cut, or space them out a bit for a natural wavy effect.
Screeding Tricky Weeds

The final type of cut you might attempt with your strimmer is for those annoying weeds that grow through cracks or between patio paving slabs. It’s a fast and effective way to remove those unsightly tufts of overgrowth, but it’ll take a toll on your trimming line. It also requires a fairly steady hand and you need a strimmer light enough to manoeuvre with confidence.
Tip your spool so that the nylon strings are just glancing off the floor. Bring the strimmer up to speed and then swing into the weed’s base, cutting flush to the hard surface. If you angle too shallow you go through a reel of trimming line in no time. If you go in at too steep an angle and you won’t hit all of the plant, leaving you with an uneven finish - practice makes perfect with this cut!

Still Need help?

Our in house experts are always on hand for buying advice and to provide bespoke care, regardless of the application.
Call SGS on 01332 576 850 or fill out our contact form today.