


 4.4 out of 5 with 50,000+ reviews
  Free delivery on orders over £75*
  Next working day delivery available*
 How to Drill Perfectly Every Time
There are many different reasons why you might need to use a drill, ranging from DIY to professional trades purposes. Whatever the situation using these power tools safely is an absolute must, otherwise you risk injury, damaging what you’re working on or even damaging the drill itself. Along with the safety element there’s also the fact you’ll want to make sure you end up with a perfectly drilled hole every time. Well to give you the best of both worlds, in this SGS Engineering ‘how to guide’, we explain the best techniques for neat and safe drilling with power tools.
Key terms to know
 |
Rotary Drilling You can set your drill to this action and it offers high speed performance. (You can also change this for a screwdriving action) |
 |
Drill Bit The cutting tool you fit into the end of your drill. |
 |
Gears A drill can have several gears and each offers a different speed and torque level for drilling. |
 |
Chuck Is the section of the drill which holds the bit. These can be keyless or will come with a chuck key, the former can be opened and tightened simply by twisting, the latter works by using the key to open and tighten it. |
 |
Drill Driver These are rotary drills used for common household jobs such as drilling into walls and surfaces with high-speed precision |
 |
Hammer Drill Used for drilling into harder surfaces and materials, these combine rotary drilling with a hammer action for added force. |
How to Use a Drill Driver Video Guide
Setting up the drill
You shouldn’t just get hold of a drill and start using it, you need to have the right speed for the job. This should be determined by what size hole you want to drill and which type of bit you’re using. The slow speeds are better for larger holes and screws, while the faster speeds are suitable for smaller jobs.
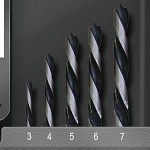
Using the right drill bit
As well as the speed, the right drill bit for the job is imperative for perfect drilling. We have a wide range of drill bits to choose from each offering information on the types of jobs they’re best suited to.
Safe and neat operation
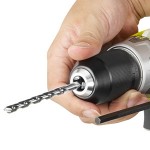
You shouldn’t just get hold of a drill and start using it, you need to have the right speed for the job. This should be determined by what size hole you want to drill and which type of bit you’re using. The slow speeds are better for larger holes and screws, while the faster speeds are suitable for smaller jobs. [caption id="attachment_4302" align="aligncenter" width="1020"] Insert the bit – this drill has a keyless chuck, so lock the tool and turn the chuck clockwise to open it. Then insert your chosen bit and turn this anticlockwise until the chuck firmly holds the bit.[/caption] [caption id="attachment_4303" align="aligncenter" width="1020"]
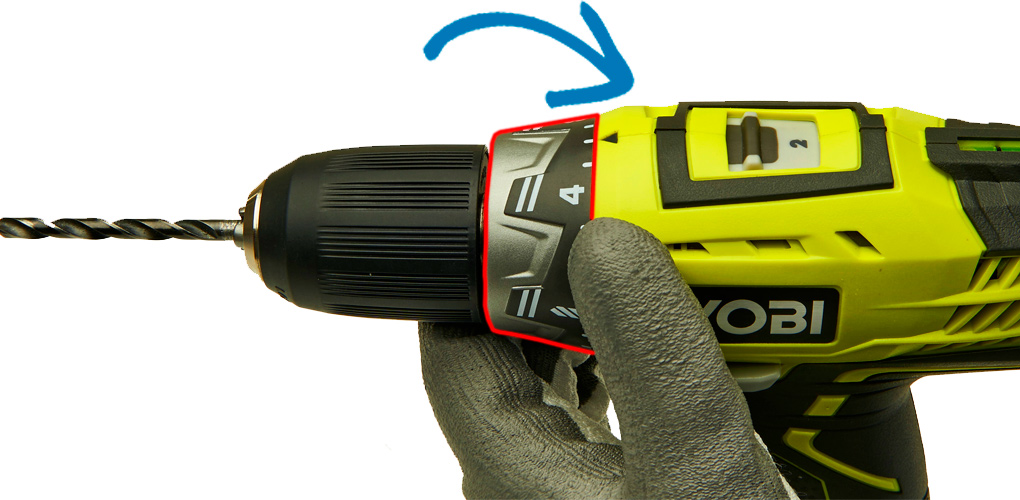 Set the speed – 24 quick-change torque settings, you have a choice for different jobs. For this task we recommend a medium speed.[/caption] [caption id="attachment_4304" align="aligncenter" width="1020"]
 Set the gears – On a Ryobi drill you use gear two for drilling and gear one for driving.[/caption] [caption id="attachment_4309" align="aligncenter" width="1020"]
 Line up the drill – using a pencil, mark on the surface where you want your hole to be and hold the bit against this with the drill at a 90 degree angle.[/caption] [caption id="attachment_4306" align="aligncenter" width="1020"]
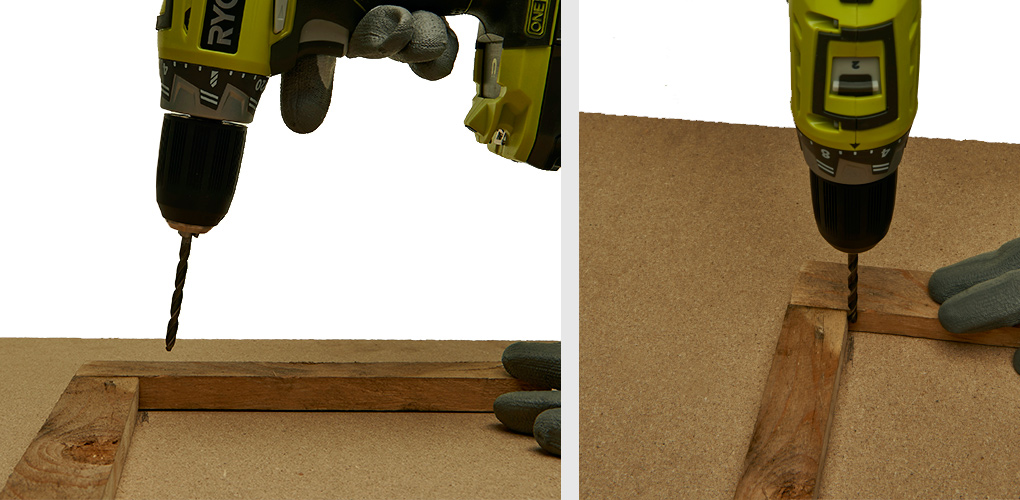 Use a guide – for added precision you can use a guide to keep your drilling straight. You can stick two small pieces of wood together to form an L-shape and use the corner of these to align your drill. Alternatively, an old CD placed over the hole for guidance can work; also there are mounting guides specifically for drills you can purchase and use.[/caption] [caption id="attachment_4311" align="aligncenter" width="1020"]
 A smooth action – whatever your guidance preferences, the actual drilling itself is the key factor. Gently squeeze the trigger to start drilling then squeeze slightly harder to drill down, increasing the speed. When the hole is drilled remove the drill while you release the trigger.[/caption]
 ![]() Depending on the nature of your job and the size of your drill you can scale up the above points to suit your working needs, whether DIY, renovation or trade. Otherwise, be sure to have a look at the other great drills we have available and enjoy carrying out some perfect – and safe – drilling.
Depending on the nature of your job and the size of your drill you can scale up the above points to suit your working needs, whether DIY, renovation or trade. Otherwise, be sure to have a look at the other great drills we have available and enjoy carrying out some perfect – and safe – drilling.